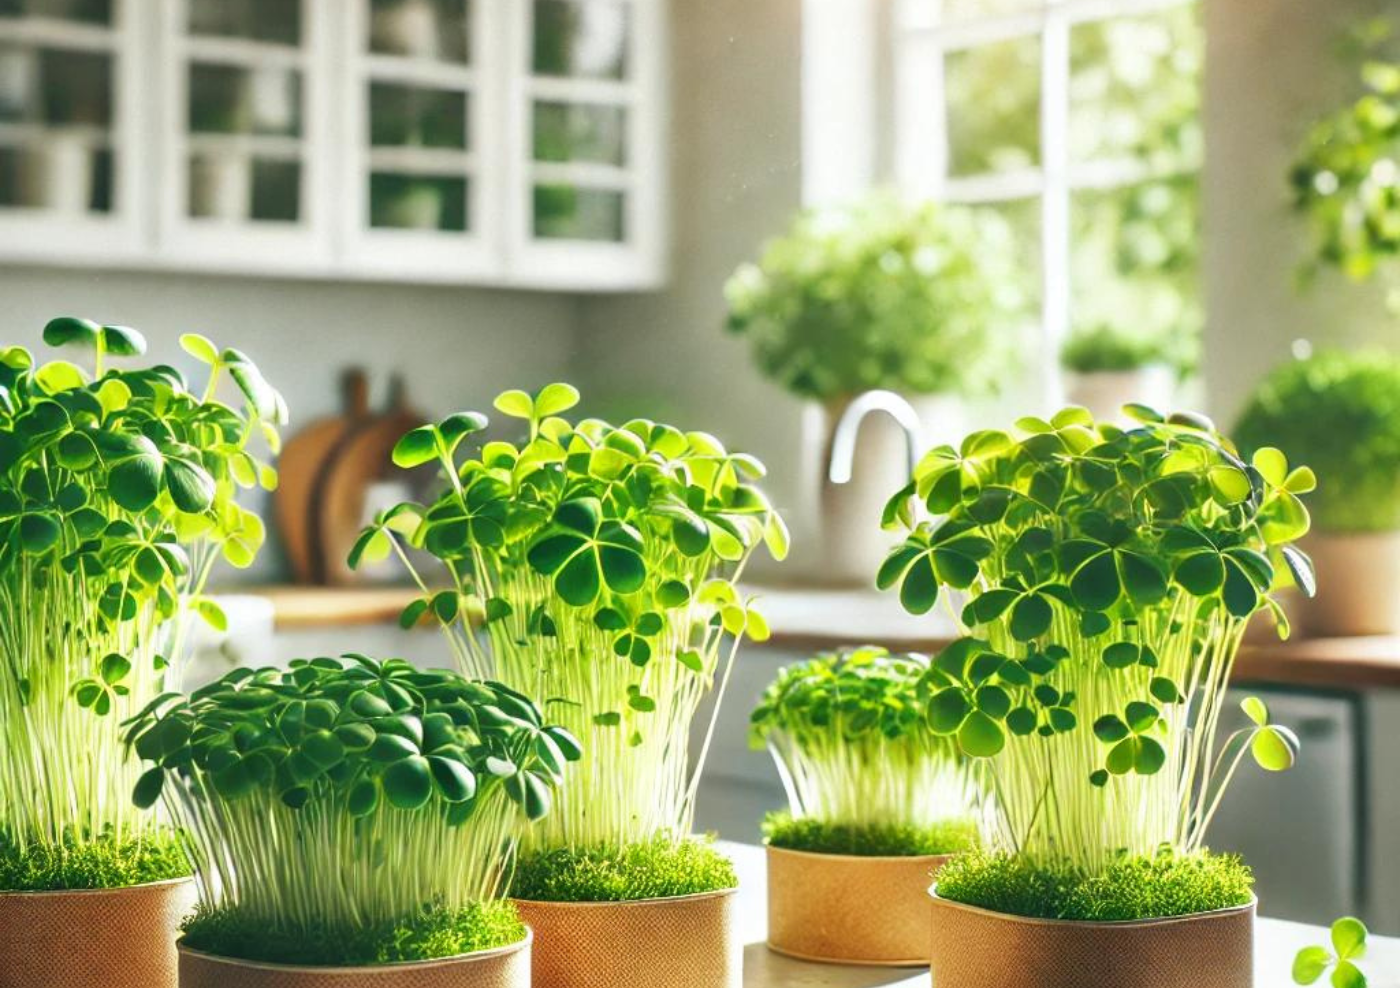
Growing Microgreens at Home

Microgreens are a great way to grow fresh, nutritious greens in small spaces, perfect for urban gardeners, beginners, and anyone looking to add a healthy touch to their meals. These miniature plants are typically harvested just 7-21 days after germination, packing a powerful nutritional punch in a small package. Whether you're looking to grow for personal consumption or to sell at local markets, microgreens are easy to start with minimal space and resources.
Microgreens are packed with nutrients and offer a wide variety of flavors. They are highly sought after by chefs and health-conscious consumers due to their concentrated taste and high vitamin content. Research shows that many microgreens contain higher nutrient levels than their mature counterparts, including vitamins A, C, K, and E, as well as antioxidants.
Microgreens are also an ideal solution for those with limited space, as they can be grown indoors or outdoors with minimal setup. They thrive in small containers, and many varieties can be harvested within 2-3 weeks, making them a quick and efficient crop for both personal use and profit.
To start growing microgreens, you will need the following materials:
- Growing Trays: Shallow trays with drainage holes are ideal for microgreens. You can purchase these at gardening stores or reuse containers from your home.
- Growing Medium: Use organic potting soil, coconut coir, or a specialized microgreen growing medium. A fine-textured, well-draining medium is key for healthy growth.
- Seeds: Popular microgreens include radish, sunflower, broccoli, pea shoots, mustard greens, and basil. Be sure to use seeds specifically sold for microgreen production to avoid chemicals or treatments.
- Light Source: Microgreens need plenty of light. A sunny windowsill can work, but grow lights are ideal for consistent, year-round growth.
- Watering Tools: Use a spray bottle to mist the soil and keep it consistently moist without flooding the seeds.
1. Prepare Your Tray: Fill your tray with about 1 to 2 inches of your chosen growing medium. Spread the soil evenly and press it down gently, ensuring the surface is level.
2. Sow the Seeds: Scatter your microgreen seeds evenly over the soil surface. You don't need to bury the seeds, but gently press them into the soil so they make good contact.
3. Water the Seeds: Lightly mist the seeds with water from a spray bottle. Cover the tray with a plastic lid or another tray to help retain moisture while the seeds germinate.
4. Germination: Keep the tray in a warm, dark place for the first few days until the seeds germinate. Check the moisture level regularly, ensuring the soil stays damp but not soggy.
5. Provide Light: Once the seeds have sprouted, remove the cover and move the tray to a location where the microgreens can receive light. If using grow lights, place them about 6 inches above the seedlings. Ensure the lights are on for 12-16 hours a day.
6. Continue Watering: Microgreens need consistent moisture, so continue to mist them with water daily or whenever the top layer of soil feels dry.
Depending on the variety you're growing, microgreens are typically ready to harvest within 7-21 days. Harvest when the plants have developed their first true leaves (the second set of leaves after the seed leaves). Use clean scissors to snip the greens just above the soil level. Be sure to harvest carefully to avoid pulling up roots or dirt.
Microgreens are best eaten fresh, but they can be stored in the refrigerator for a few days in an airtight container.
As with any food product, it’s important to follow safe growing practices to avoid contamination. Microgreens are often eaten raw, so cleanliness is crucial:
- Seed Handling: Always use clean seeds intended for microgreen production. Some seeds for traditional gardening may be treated with chemicals that are unsafe for consumption.
- Water Quality: Use clean, filtered water to avoid introducing contaminants. If using tap water, let it sit for 24 hours to allow chlorine to dissipate.
- Clean Tools: Ensure all trays, scissors, and other tools are sanitized before use. This will reduce the risk of contamination during harvesting and planting.
If you plan to sell your microgreens, there are many potential markets. Microgreens are popular with restaurant chefs, who often use them to garnish dishes or add flavor to salads and sandwiches. You can also sell them at farmers' markets, health food stores, or directly to consumers in your community.
To stand out in the marketplace, focus on providing fresh, high-quality microgreens. Packaging is important—choose containers that keep the greens fresh while showcasing their vibrant color. Consider offering mixed varieties for a diverse and appealing product.
Microgreens can be grown year-round indoors. During the winter months, when natural light is limited, grow lights are essential for maintaining healthy plants. Another option is to use cold frames or mini greenhouses outdoors to protect your microgreens from the cold while still allowing light in.


Leave a comment